This week, our focus will be on setting up a complete Ubiquiti Wireless Network using the UniFi controller software, from beginning to end.
You have the option of running the UniFi OS on dedicated controllers, routers, Raspberry Pi, or Windows computers. Once the network is initially configured, the UniFi controller may not be necessary and can be taken offline.
First, we will download and install the UniFi Network application directly from Ubiquiti (https://www.ui.com/download/unifi/). Once downloaded, we will install the application. Windows, MacOS, and Linux versions are available. I will walk through installing UniFi on a Windows 11 Laptop. After you have downloaded the network application, double-click to install it. Java 11 is required and may prompt you if you don’t have it installed.
I personally recommend the Microsoft version, I selected the Windows x64 msi from this page: https://learn.microsoft.com/en-us/java/openjdk/download#openjdk-11
If you had to install Java 11, return and re-start the UniFi install. Follow the on-screen prompts to complete the install.

Click Finish, leaving the ‘Start UniFi…’ box checked. You may have to allow access through your firewall with several prompts.

When you see a green checkmark, select the ‘Launch a Browser’ button to be directed to the UniFi portal.

You may have to accept some certificate warnings and proceed, this is typical.
The first step is to name your network. Enter a unique network name on the box, agree to the terms of service, and click next.

Select ‘Switch to Advanced Setup’

The first NSA best practice we will follow is to disable remote administration (NSA BP#11 Limit administration to the internal network only). Disable the first 2 options to enable setting up your UniFi network locally. Enter a unique administrator username and a secure password. Enter an e-mail address and click Next.

Continue with Auto Backup’s enabled

At Step 4, you are now ready to connect your devices to the network.

After my AP has powered up, the UniFi application found the device. Check the box next to your AP, and select next to begin the WiFi network setup.

Let’s set up the WiFi network. First enter a WiFi Name, and a unique hard-to-guess password. Enable the ‘Combine 2GHz and 5GHz WiFi Network Names into one’ box, and select next.

Review what you have setup for your wireless network and click finish.

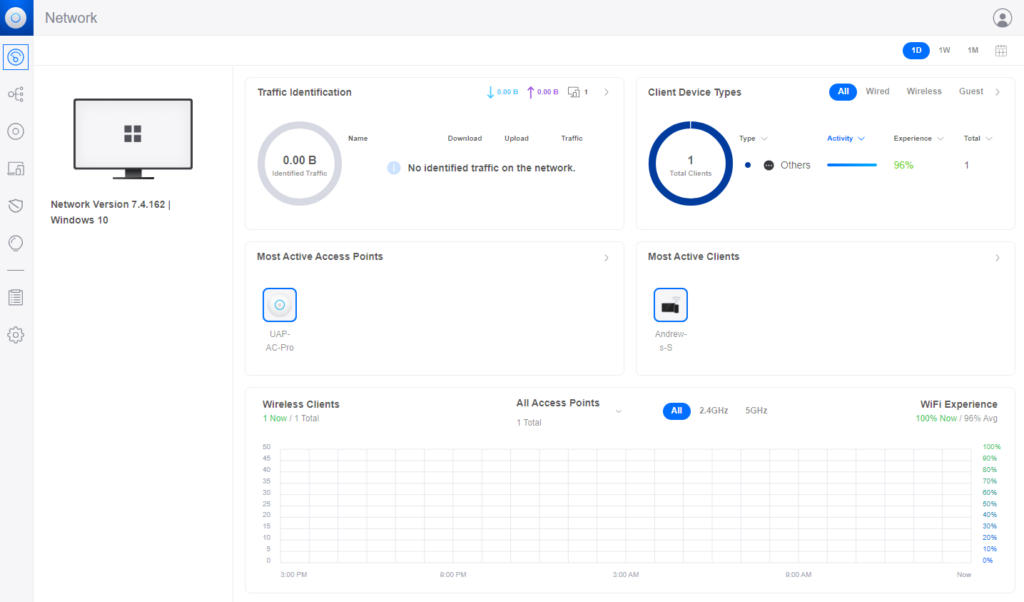
You will now be presented with the UniFi Dashboard. Give the software a few minutes to finish setting up the Access Point, and then connect a client to your wireless network to test.

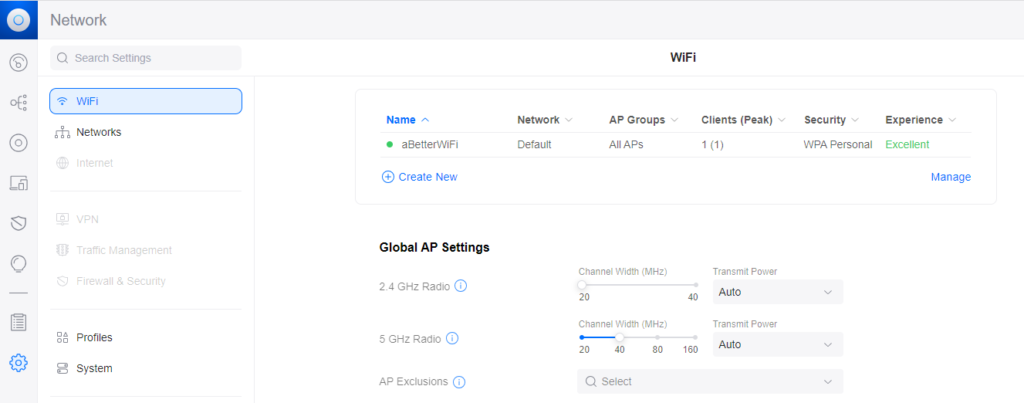
Let’s confirm your wireless security level. NSA BP#3 recommends a minimum of WPA2 security on the wireless network. To get to your WiFi Settings, select the Gear on the left, and then WiFi from the menu.

Next click on your WiFi network on the right. Scroll down and confirm your security is WPA2

Next, let’s confirm remote access is turned off (NSA BP#11). Select System, then Show More next to Administration:

Confirm that the Remote Access options are both disabled:

Finally, lets make sure our access point is up to date (NSA BP#2 secure routing devices and keep them up-to-date). To do this, expand the Updates section, and click on the ‘Check for Updates’ options for Network Application and Device Firmware.

Next, lets follow NSA Best Practice #4, implement Wireless Network Segmentation. We will do this by creating a guest wifi network. To do this, select ‘Create New’ from the WiFi menu in Settings. Name it, and enter a different password. Check the ‘Hotspot Portal’ checkbox to enable several guest network features, like device isolation. By default, this checkbox removes our wireless security.

Scroll down to re-enable WPA2 as our security protocol:

Select add Wifi Network

Let’s make some changes to remove the hotspot portal, we don’t need our guests to login. Reselect your guest network, and select the ‘Hotspot Portal’ link next to the checkbox we enabled earlier to configure the portal settings.

To bypass the login portal for our Guest Wifi network and disable the expiration, first select the Settings tab:

In the default expiration area, change the first drop-down to ‘User-defined’ and enter 999999 days. In the ‘Landing Page Settings’, uncheck ‘Show Landing Page’:

Save

After you give your network a few minutes to update, you should have a second SSID broadcasting that your guests can connect to. You can use this network to connect IoT devices to keep them off your main network, or you can repeat the above steps a second time for a third dedicated IoT device network.
